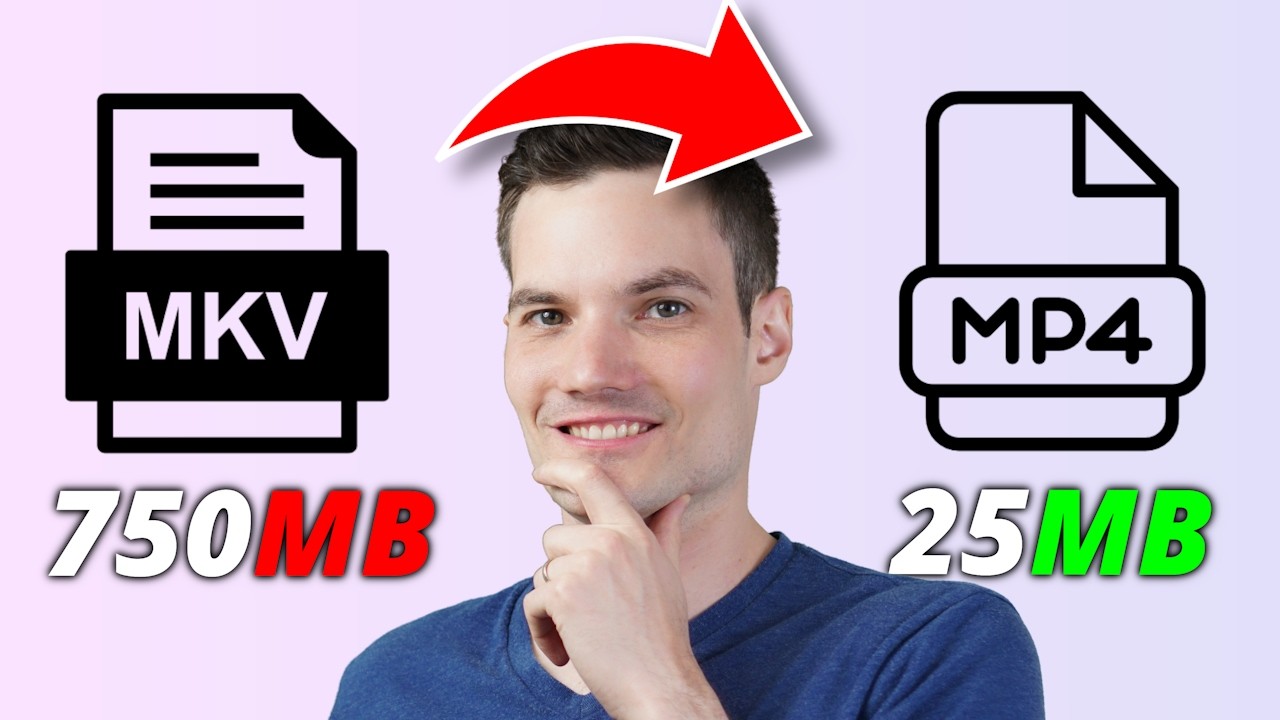
Today, we’re going to look at how you can convert video and image files from one file format to another file format super-fast. Like say an MP4 to an MP3, or an HEIC image from an iPhone to a PNG, or basically any other format. We’ll also look at how you can compress video files so they take up less space while still maintaining very high quality. Let’s dive in. In this video, we’re going to use Wondershare Uniconverter. You can download it by clicking on the link in the top right-hand corner, and I’ve also included a link down below in the description. It’s professional grade software that has a very friendly user interface that’s intuitive and also easy to navigate. You get the fastest conversion speeds that leverage your graphics card, and you also get lots of features beyond just video conversion, including basic video editing tools, batch processing, and much more. There are also other popular tools out there that can also handle converting and compressing files, like one of my favorites, Handbrake, and online tools like cloudconvert.com. Handbrake is a fantastic free option with extensive customization, and I’ve done a video on how to use their product, but it is a little bit more complex, and you can only output to three file formats. Different cloud providers like cloudconvert.com are ideal for quick online conversions, but there are a few limitations on file sizes, and you also lose some privacy by sharing your videos with a cloud provider. For those reasons, we’ll be using Uniconverter. Of course, one of the downsides is you have to pay, but if you’re converting and compressing often, it’s likely a worthwhile investment. It’s really perfect for, say, real estate agents where, say, you need to convert MOV files from iMovie to MP4, or maybe you’re a lawyer and you need to batch convert different video files to a specific format, or maybe you work in IT and you want to batch convert HEIC images to PNG. You can do all of that. Once you land on this website, click on Try it for Free. This works on both Windows and also on Mac. As a note, this is a free trial that allows you to see what the software can do, but if you want the full functionality, you’ll have to select a paid plan. Once you finish installing, you’ll land here in the main interface. At the top, you’ll see some of the most common use cases, including converting and also compressing video. And down below, you also have a number of other additional tools. Uniconverter has a lot of functionality packed in, and I partnered with them to show you what some of that functionality is. I need to convert a video file, so right up on top, let’s click on the converter. This now opens up the converter, and right up on top, we have two different icons. Over here, I could click on this, and you can add files to convert. You can add an entire folder, or you could even pull in files directly from a device. Now, when I click on this menu, you could pull in a DVD, IFO, or ISO files, and then convert those to other file types. I have a whole bunch of different video files on my computer, so here, I’ll simply drag and drop them into this interface. I have 24 different files, and here you can see that I could bulk add all of these. Right up on top, I can see the file format that this video file is currently in, and right over here, we see the arrow, and we see the file format that I’m going to convert to. Now, currently, these are identical, and that’d be kind of silly. So over here, I can click on this icon, and I can choose the file format for this individual file, but I don’t have time for that. I have a lot of different files, so I’ll escape out of this view. And down at the very bottom, I can also update the file format to bulk change all of these different files. Let’s click on this. This now opens up a dialogue that shows me all of the different file formats that I can convert to, and I’m not kidding. There are a lot. It turns out there are over 1,000 different file formats, 4K, 8K, and also HDR. So here, for example, let’s click on video, and here you have all of these different video file formats, and even when I click into some of these, you’ll see all of the different subcategories. Here, I could click into audio, and here too, lots of different options. You could even choose file formats that are optimized for different device types, and over here, we also have a category for web video. Chances are, if you’re looking for a file format, you’ll likely find it here. I’ll click on MP4, and here, I have all these different options. Now, you could even upscale it. So here, I could choose 4K video, or you could even compress your video as you’re converting it. I want it to be the same as the source. I just want to change to an MP4. So, I’ll select same as source, and over on the right-hand side, I can now see the file format that all of these videos will convert to. Along with being able to convert files, over on the left-hand side, under the thumbnail, you also get some basic video editing tools. Here, for example, I’ll click on this, and here, I could trim a clip. For example, maybe I want to cut out some of the beginning, and here, if I click in the middle, I could even split the clip. Down below, I’ll click on OK. Right up on top, I’ll click on this icon, and over here, we could rotate the video. So there, I could rotate it around. You could also crop it. So, let’s say I want to crop to a vertical video, and here, I could adjust the focus point. And down below, I can apply this to all of my different clips to make a change in bulk. I don’t need to make this change. Down below, I’ll click on Cancel, and then click on Yes. And right up on top, we also have some additional tools. I’ll click on this, and we could apply different effects. Here I could adjust things like the brightness, the contrast. Maybe I want to adjust the saturation. I could do that. And over here, you could apply a watermark. You could add subtitles. You could adjust the audio, for example, maybe the volume, and also the speed. And with all of these different effects, you can apply these changes to all of the different clips that you imported. Now, I don’t need to make any of these changes. So down below, I’ll click on Cancel. I’m now all ready to convert my files. In the top right-hand corner, you might have noticed this button that says High Speed Conversion. I’ll click on that, and here, you see that it’s currently enabled. If your computer hardware supports acceleration, the conversion speeds will be so much faster. You could check the description of this video to see if your hardware is supported. Now, especially if you’re converting or, let’s say, compressing lots of files, the speed really does make a difference. This is one place where Uniconverter really shines compared to the competition. Down in the bottom right-hand corner, I’ll now click on Start All. And look at how fast it’s converting all of those files. That hardware acceleration makes such a big difference. And just like that, it has now finished converting all of these different files. That was fast. Next, we’re going to look at how you can compress files. Let’s say, for example, that you export videos from Adobe Premiere. You can use Uniconverter to compress the files while still maintaining high quality to share more easily with clients. Or let’s say you export the highest possible quality video in Final Cut Pro. You’ll likely need to compress before uploading to different social media platforms. I want to share this commercial in an email, but it’s currently larger than it needs to be. So let me see if I can compress it while still maintaining the quality. Over on the left-hand side, let’s click into the compressor. And similar to what we saw with the converter, here too, I can also drag and drop a file into this view. So over here, I have my commercial, and I’ll drag and drop it in. Now, along with pulling in just an individual file, here too, you could also add multiple files and even an entire folder filled with files. So that way you can batch compress multiple files all at the same time. Over on the right-hand side, we have a settings gear that we could use to configure how much we want to compress the video. Let’s click on this. This now opens up a slider where you can adjust the file size and also the quality. The smaller the file size, the more compressed the video file will be. Right over here, they have a recommended range in this green area, and as I move into this recommended range, up above, we can see what the resulting file size will be. Now, I really want to try to get this video file under 10 megabytes. So, I might go a little bit outside of this recommended range. Let’s go maybe all the way down. Let’s try 25%. This is compressing the video significantly. And up above, we can see the range for the file size. Now, right down below, we can also preview what this file will look like. So that way we can see if the quality will be acceptable. Let’s try a quick preview. Wow, that looks pretty impressive. It’s saving a significant amount of space, but honestly, I think it still looks really good. Right up on top, I’ll close out of this. And let’s go with 25%. I think that’s pretty good. And here too, I could also change the format if I’d like to do that. But I’m happy keeping it as an MP4. I just need a smaller file size. Now down in the right-hand corner, let’s click on "Okay." And over on the right-hand side, we can now click on "Compress." That also went really fast, and the reason why is it’s using hardware acceleration. Now over here, I can see the new commercial. Keep in mind the original file size was 43 megabytes, and I got it all the way under 8 megabytes. Let’s have a quick preview to see if it still looks like it has good quality. Here I’m playing the two files side by side. The compressed version is only 8 megabytes, and the original file is over 40 megabytes. It’s 20% of the size, but when you look at it, the quality is fairly similar. You’ll notice a few more artifacts, but it takes up so much less space. Now that I’ve compressed the file, and I also checked to make sure that the quality was good enough, and I thought it was, I can now do things like share this video file in an email message. Not that I recommend doing it, but the size is small enough and the quality is good enough, that, that’s an option. So far, we’ve been looking at how you can convert and also compress files, but Uniconverter comes with a lot more capabilities. Over on the left-hand side, we can click into the editor, and we already looked at some of this functionality. For example, you could trim a video, and we did that earlier. You can crop, add a watermark, add different effects or subtitles, adjust the audio, and also the speed, and the beautiful thing here is you can do this in bulk to video files. For example, if I click on this dropdown, you could add multiple files, or you can add an entire folder. Over on the left-hand side, you can also merge together video files in bulk. Here too, we have that same menu. You can add multiple files and also folders. So, let’s say, for example, that you want to, let’s say, add an intro or an outro to many different video files. Well, it makes it really easy to do it right here. Over on the left-hand side, let’s click into the screen recorder. Just like the name implies, you can record your screen, but you can also record your webcam, you could record your microphone or your audio. Down below, you also have the option to record just an application. So, lots of different options here and a handy tool to have. Over on the left-hand side, if you remember the good times, you have a DVD burner. So, if you have a DVD, you can convert that to many different file formats. And down at the bottom, let’s click into tools to see what’s there. Here you’ll find a massive collection of tools, and many of them are powered by AI. I’ll highlight some of my favorites. Up in the top left-hand corner, you have something called the AI Video Enhancer. And when I click on that, you can see some of the different AI models that you can use. Now right here, you can upscale a video. Maybe you have a video that’s in low resolution, you can upscale it all the way up to 8K resolution. Here’s an example video that I upscaled. On the left-hand side, you can see the original version. And over on the right-hand side, you can see the new version. Now if I zoom in, look at all that additional detail that I get. That looks so much better. Also, let’s say you have some video footage, but it’s a little bit choppy. You can have AI fill in the missing frames using something called frame interpolation. Over here, I’ll click out of this. You also have something called the AI Image Enhancer. And just like we saw with video, here you can enhance images. And here you’ll see a few examples of the different AI models that you can run. And here too, you can also upscale images so they have higher resolution. I’ll close out of this. Down below, you also have something called video stabilization. Maybe your video’s a little bit jerky. Well, here you could stabilize it. And if I scroll down, you’ll see lots of other tools that you can use. So well worth looking at to see if some of these can help with your workflow. And there you have it, a powerful tool to convert and also compress video files. Again, you can download it in the description. This tool is especially helpful if you find yourself converting and compressing files often. To watch more videos like this one, please consider subscribing and I’ll see you in the next one.