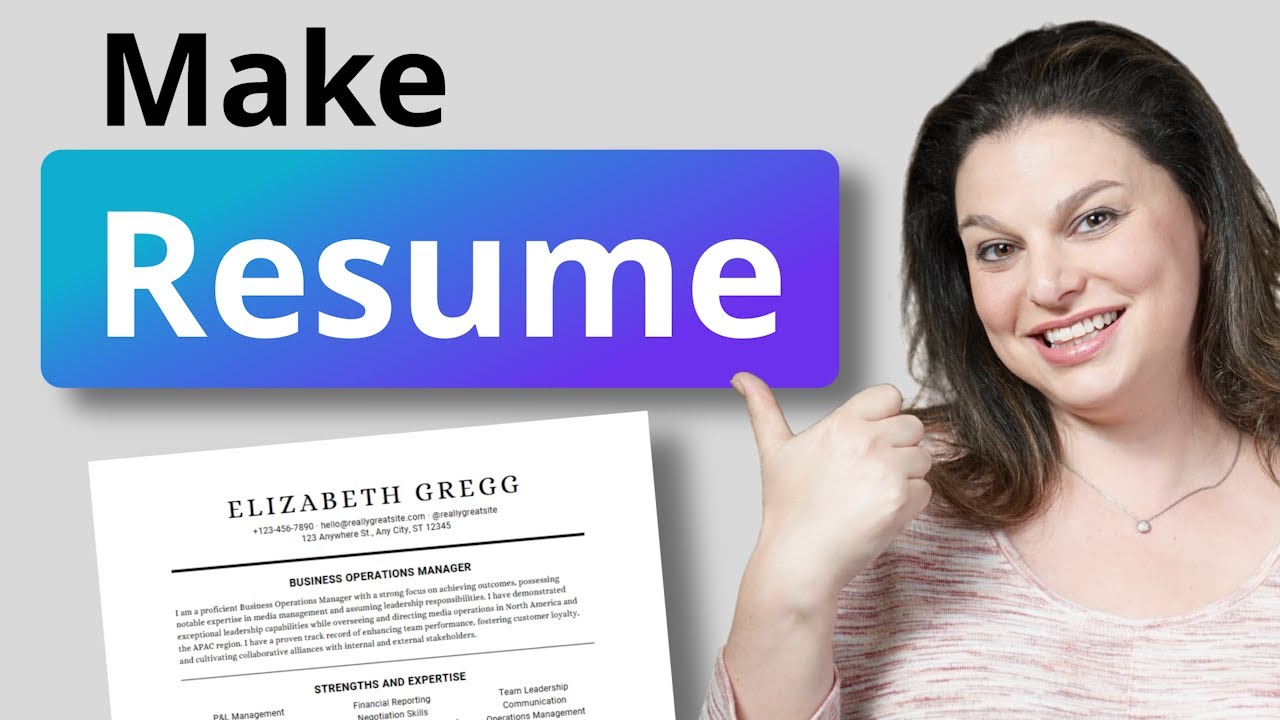
Creating a resume can be a daunting task, especially if you are starting from scratch. Today, we are going to take a look at how to create a resume using Canva for free. There’s tons of templates to choose from. Let’s take a look. Starting on the Canva homepage, go ahead and type in resume. You’ll see that over 10,000 templates are available for you to customize. Scroll down and take a look at the various templates available to you. You’ll notice that most of these are free to use, although some of them do have a Canva Pro subscription logo on the bottom right-hand corner. You will need a Canva Pro subscription in order to use these templates. As you can see, many of these are more creative in nature, and others are slightly more professional. Today, I’ll show you how to make edits to both types of resumes. Let’s go ahead and start by using a more professional looking resume. Go ahead and click on it, and then click Customize This Template. You can also see that there are similar looking resumes that you can choose from down below. Once you click Customize This Template, it is now a completely open canvas for you to use. Everything on here can be edited. First, let’s go ahead and zoom in here so you can see the edits I’m about to make in greater detail. The first thing I’m going to do is adjust the name. For any edits that you want to make to the text of your resume, go ahead and double-click. If you want to adjust the font, go ahead and either highlight or double-click on it, go to the top of the screen, and you can see the various font styles available for you to use. You can then click on them and see what they would look like. Once you find one that you like, you can then go ahead and adjust the size and even the color. Throughout the rest of the document, if you want to use the same type of font or find one easily that you used previously, you can go ahead and click on it, come back up to the top of the screen, click on Font, and then easily see the other fonts that you have used in this document. While we are not going to edit this complete resume today, I want to show you some other useful features when it comes to editing your template. In the template that we chose, it has some design elements that you may or may not wish to keep. Go ahead and click on this line. Here, you can adjust the color, the type of line, and you can drag it, and adjust accordingly. If you make any change to your resume and you decide that you want to go back, up at the top of the screen, you can click the undo button. If you decide that you would like to add additional elements that are not already on your template, on the left-hand side, click on elements. Let’s take a look at how we can use one of these elements to enhance our resume. Clicking on this stripe here, you can see that it defaults to white. Come to the top of the screen and select the color you would like to use. I’m going to go ahead and be a bit dramatic and put this underneath my name. I’m then going to highlight my name, come to the top of the screen, and adjust that to white. I can then elongate this strip, and using my mouse, I can adjust it to fit exactly where I want. As you can see, it is cutting off some of this text, but I needed to edit that anyways. I can delete and then insert the text that I want to include, drag this, and remember you can edit the font to go back to what you had previously used in the document at the top of the page under Document Fonts, and then adjust the size accordingly. You can continue to tweak your resume and add any additional graphics or designs that you would like to include. Likewise, anything that’s existing on the resume, you can go ahead and make adjustments to as well. If at any point you decide that you don’t like the changes that you have made, remember to just use the Undo button. Let’s take a look at some of the other things that are available to us as we update and edit our template. Here you can add additional text boxes to be included on your template. Although you don’t necessarily need to do this, given that you already have pre-populated text boxes that you can just quickly edit with your information. You’re not going to be using too many of these other features on the left-hand side. We are going to walk through how to upload a photo to your resume in one of the next steps. Coming back here to your design, you’re going to go ahead and edit all of the information you need changed in your resume. As you can see, this one is already two pages. If you continue to add text boxes and information, this will automatically become longer for you. You can also go ahead and click Add Page if you wish to add additional information to a subsequent page before filling up anything else. So now you have your template and you can take the time to edit and customize the data to put your best foot forward. But now let’s not forget some of the most important steps before you send off your resume and apply for that job. Once you’re done editing your resume, make sure to come up to File and Save. This way you can come back to Canva at any time and continue to edit your resume. Likewise, I recommend downloading this to your computer. Up here on the right-hand side, click on Share. Then click on Download. Here you can see that there’s different file types for you to download. Even though it’s suggesting to download in a PNG format, for a resume, it’s suggested that you actually download it in PDF standard. This allows you to either edit your resume in PDF, copy and paste into a Word document if you wish, or you already have your resume ready to send out or apply because it’s in a PDF format. Go ahead and download that to your computer. As I mentioned earlier in this video, Canva has a whole variety of templates, and depending on how you want to present yourself, you might choose to use a slightly more creative and visual option. I’m going to go ahead and scratch this resume, the more professional one for now, and on the left-hand side I’m going to select a resume that includes a picture. I’m going to go ahead and just replace my current page since I have already saved this template. Similar to everything else on Canva, you can edit and customize this template however you wish, but what I want to focus on right now is how you can add your photo to a pre-existing Canva template. Here you can see where the template has the photo already inserted, but I want to add my own. On the left-hand side, click on Uploads. If you don’t already have your photo uploaded to Canva, click on Upload Files. Locate the picture on your computer and open it. You’ll see that it downloads into your Saved Images folder on Canva. Then go ahead, click and drag on the image, and bring it over to where the previous photo on the template was. Once it’s here, you can double click and then adjust it, zoom in or out, and you can even rotate it. Once you have it where you like, go ahead and click out of the box. And there you go! Canva makes it easy to create a stylish and polished looking resume. Please remember to always save your work both within Canva as well as your computer. Best of luck with creating a resume that’s perfect for you!