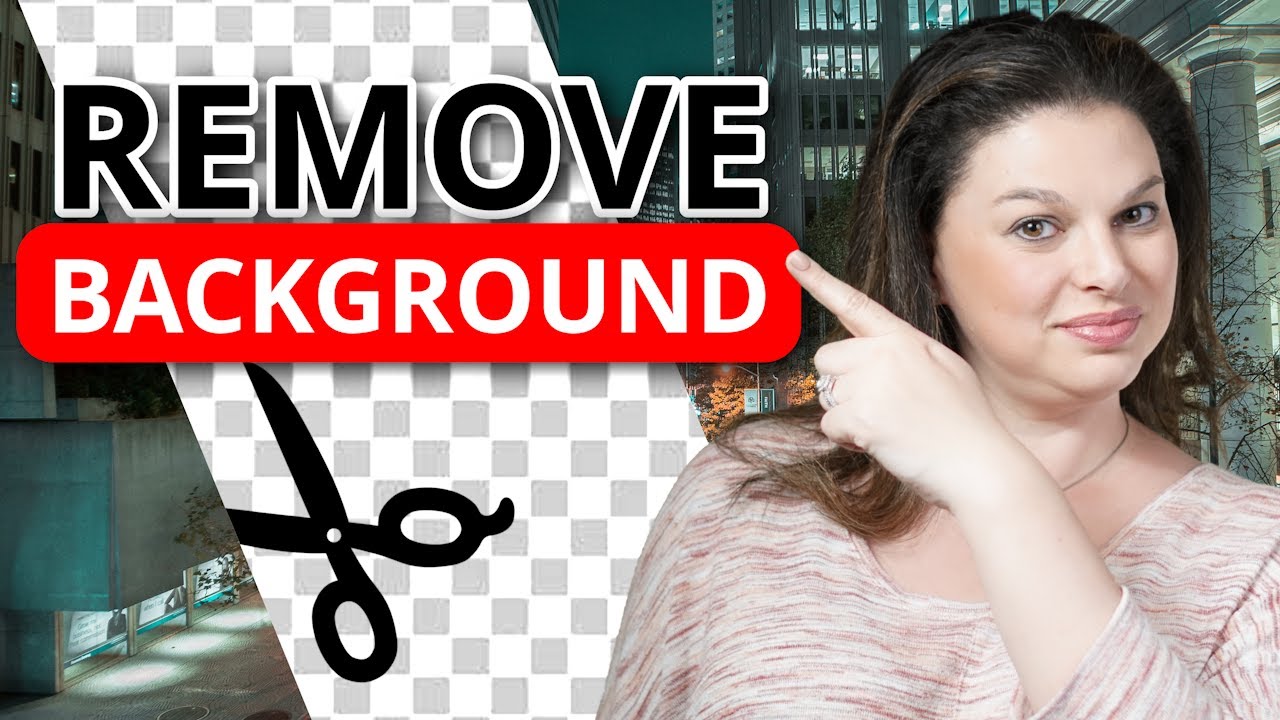
There are so many choices out there for different types of photo editing software, but I want to walk you through a new feature I discovered recently in Canva, where in just one simple click you can eliminate a background on a photo and then insert that image into a background of your choosing. This is a really simple tool that anyone can use. Let’s take a look at how it’s done. From the Canva homepage, scroll up to the top left-hand side, hover over Design Spotlight, and then select Photo Editor. You can upload your image directly from your computer, or if you already have it open, you can simply drag and drop. Click on Upload Your Image, and then select where on your computer your photo lives. You can go ahead and double-click it, and it will instantly begin uploading your image. Your photo now appears large in the Canva editor home screen. You can go ahead and make it bigger or smaller in order to view it better. Now, let’s say this photo was taken in Hawaii, but you didn’t get the best background with the photographer you chose, but you love the image itself. So, let’s go ahead and remove the background. It already defaults to Edit Photo, but if for some reason it did not on your computer, go ahead and select Edit Photo. You will then see the various effects that are included as part of your Canva Pro subscription. Please note that everything we are discussing in today’s video does require a Canva Pro subscription. Now, I’m going to select Background Remover. Click it and wait. Isn’t that amazing? The background has been completely eliminated with just one click. Now, you can use this image in a whole bunch of different types of designs. On the left-hand side, click on Elements. You can then go ahead and search for the type of background that you want to use with this photo. In today’s case, I am going to look for a beach background. Here, under Photos, you can then select See All. If you find an image that you want to test out and see how it looks, you can simply go ahead, click on it, and it will add it to your image. However, this doesn’t look quite right. Go ahead, select the three lines, and there’s a few things that you can do. The easiest is to scroll to the bottom and select Set Image as Background. It will then automatically default to the background. You can then go ahead, adjust your photo, and drag and drop, and resize again to see if this is the image that works for your new background. Another option you have is to change this photo into a landscape. To do that, scroll up to the top and click on Resize. You can then go ahead and adjust this to any custom size that you wish. You can switch to inches to make it easier. And in my case, I’m going to go ahead and switch it to a width of 7 inches and a height of 5 inches. You can then go ahead and select Copy and Resize. What this button does is essentially just copies the photo, puts it into the landscape or whatever size you select, but it will also keep this work so you can toggle back to it if you wish. I’m going to go ahead and select Copy and Resize. You can then see here it went ahead and you can now see the entirety of the new background because of the resized image. You can then again go ahead and select on the initial image and resize and relocate the image. Let’s take a look at some of the other features for adjusting your background. In this case, I’m going to go back to the initial photo we were looking at by toggling to the top of my page. And as you can see, it went ahead and kept my initial design in the other size format up here at the top of my screen. Clicking into that, it brings me back here. Let’s take a look at some of the other backgrounds that we can go ahead and add in here. If you choose a different background, you can click on the three dots and then replace the background here and drag and drop and resize however you wish. If there’s a portion of the background that you want to use, but not all of it, instead of applying the image to your background, go ahead and click Detach Image from Background. You can then go ahead and just size it however you want, move it around. But as you can see, your people can no longer be seen. We’ll go ahead and fix this by clicking on the three dots, scrolling to Layer, and sending backwards. You can now move this around and adjust your people. Let’s take a look at one more background. Scrolling over here to the left, I continue to come down and take a look at the various backgrounds that are available to me. Let’s go ahead and try this one. Clicking on it, I’m going to then apply it as my replace background. But as you can see, because I had this image here selected as just kind of a regular image that you place on there and not set as the background, I am going to have to relocate it and then press Delete. You now have the new background applied and you can move your people around. Let’s say that I like the way that this looks and I want to now go ahead and just make some slight adjustments to the filters in order for this to be the perfect beach photograph. I’m going to go ahead and select on the people and then Edit Photo. Canva has a number of filter presets that you can play with. Over here on the left-hand side next to Filters, select See All. You’ll notice that in the previews for each filter, you’ll see your initial background image. But anything that you click on will get auto adjusted with the new background in its place. You can adjust the filter intensity as well. And at any time you’re unhappy with the changes on the top of the screen, go ahead and select Undo. If you would rather play with the filters yourself, go back to the Photo Edit Home screen and in the middle, select Adjust. You can then go ahead and play with the filters including White Balance, Light, Color, and Texture. In this case, I’m going to go ahead adjust the contrast up slightly and play around with the vibrance. Once you’re happy with how your image looks, you can adjust it and scroll in just to make sure that everything looks exactly how you want it. If you do want to make any other changes, select the image again, edit photo, and you can continue to play around with your filters. We are now at one of the most important steps, saving your image. Up at the top of the screen, click on File. You can then go ahead and save your image in Canva. Easy! Now let’s download your image so that you can share it with friends and family. On the right-hand side of the screen, click on Download. Here you can select the file type that you wish to use and then download it directly to your computer. If you wish to share this image directly on social media and you have your social media account linked to your Canva account, on the upper right-hand side, select Share. Here you can then share on social media for any of the ones that you have linked to your social media account. Now let’s take a look at our finished product compared with our initial image. Here you can see a side-by-side of our initial photograph and then what we edited together in Canva. Hopefully, you can now enjoy your family photograph a little bit better. Remember, as long as you save your work in Canva, you can go back and edit it at any time. You’ve now created the perfect photograph in no time at all. Your friends will be jealous at all the amazing images you’re going to be able to create. Don’t tell them you’re doing it without leaving your home. If you enjoyed this video, please consider subscribing below.